Sketch Booking
Photography Sketching is absolutely a thing.
Since I got a Polaroid back for my RB67 last year I’ve really appreciated the ability of instant film to work as a sketchbook. It’s not a novel concept; for decades Polaroids have been used as proofs for a frame before committing the scene to film. As a medium, it requires the same investment of creative energy to make the exposure but they feel like ephemera. When you don’t have to spend the time and money for development they feel like a quick and easy way to see a frame, but at the same time they almost never feel like the final form of the frame. I needed to test out a new lens for the Mamiya this week, so I loaded up a pack of Polaroid Black and White and went out on what felt like the first fall morning of the year. The light was direct even though there were fantastic clouds, I got to give away a Polaroid Puppy Portrait of a dog that just wanted to roll around on the sidewalk, and it let me just sketch out a few frames with something a little longer than I’ve been using on the RB67.
Technically speaking, Polaroids are bad film. Shadows will fall into complete darkness and highlights will go snow white. The narrow band of dynamic range means something will be sacrificed, and it also means that any failure to nail your exposure means the image is gone for good. At the same time, they’re the perfect sketch, and especially with Black and White frames it immediately make me assess whether or not there is something there. If only it was cheaper than exposing and developing a roll of 120.
Move In
Welcome to Vassar!
This summer Rebecca and I moved on campus at Vassar College to live in Jewett House as House Fellows. I decided the best way to commemorate our first year on campus was taking an hour to expose a couple rolls while the First Years moved in!
For the technical details, these are all captured with my Mamiya RB67 through the 180mm f4.5 C on Kodak Gold 200 and Ilford fp4 while eyeballing the exposure values. The scans are straight from the Noritsu HS-1800 at Nice Film Lab down in Brooklyn, but I’m definitely looking forward to getting some time to put them through the Imacon at CPW in Kingston.
Decision Day
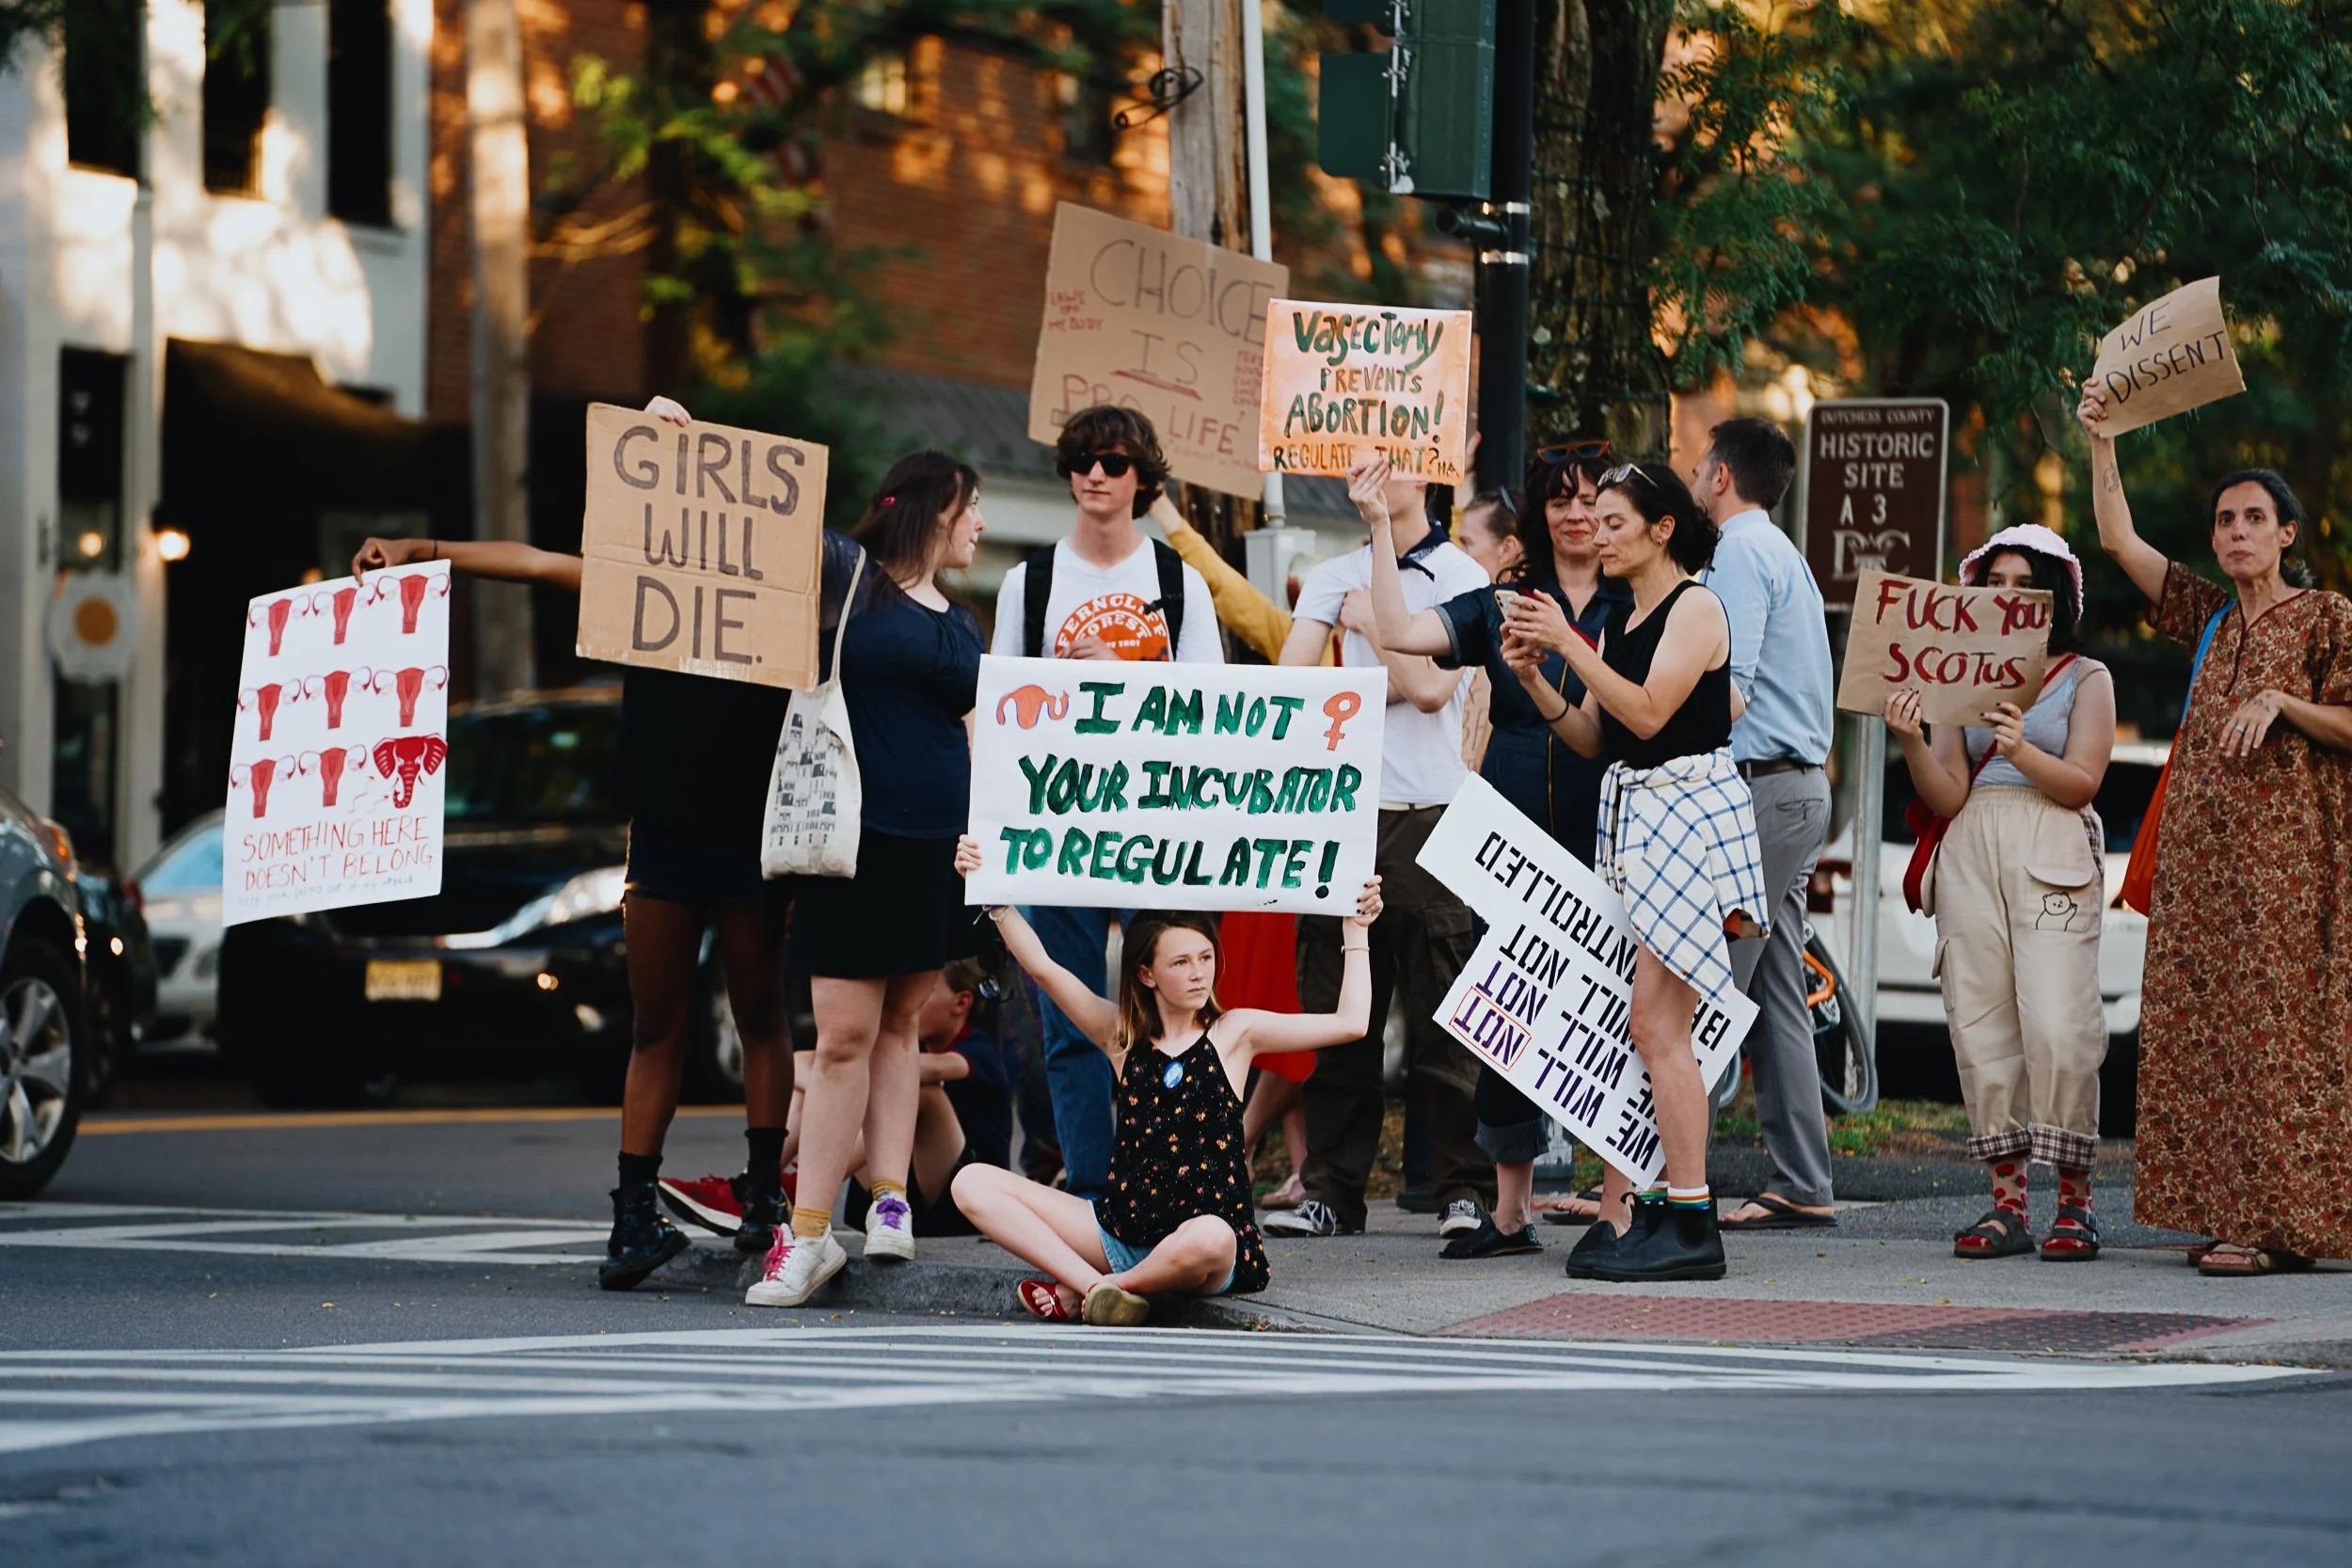
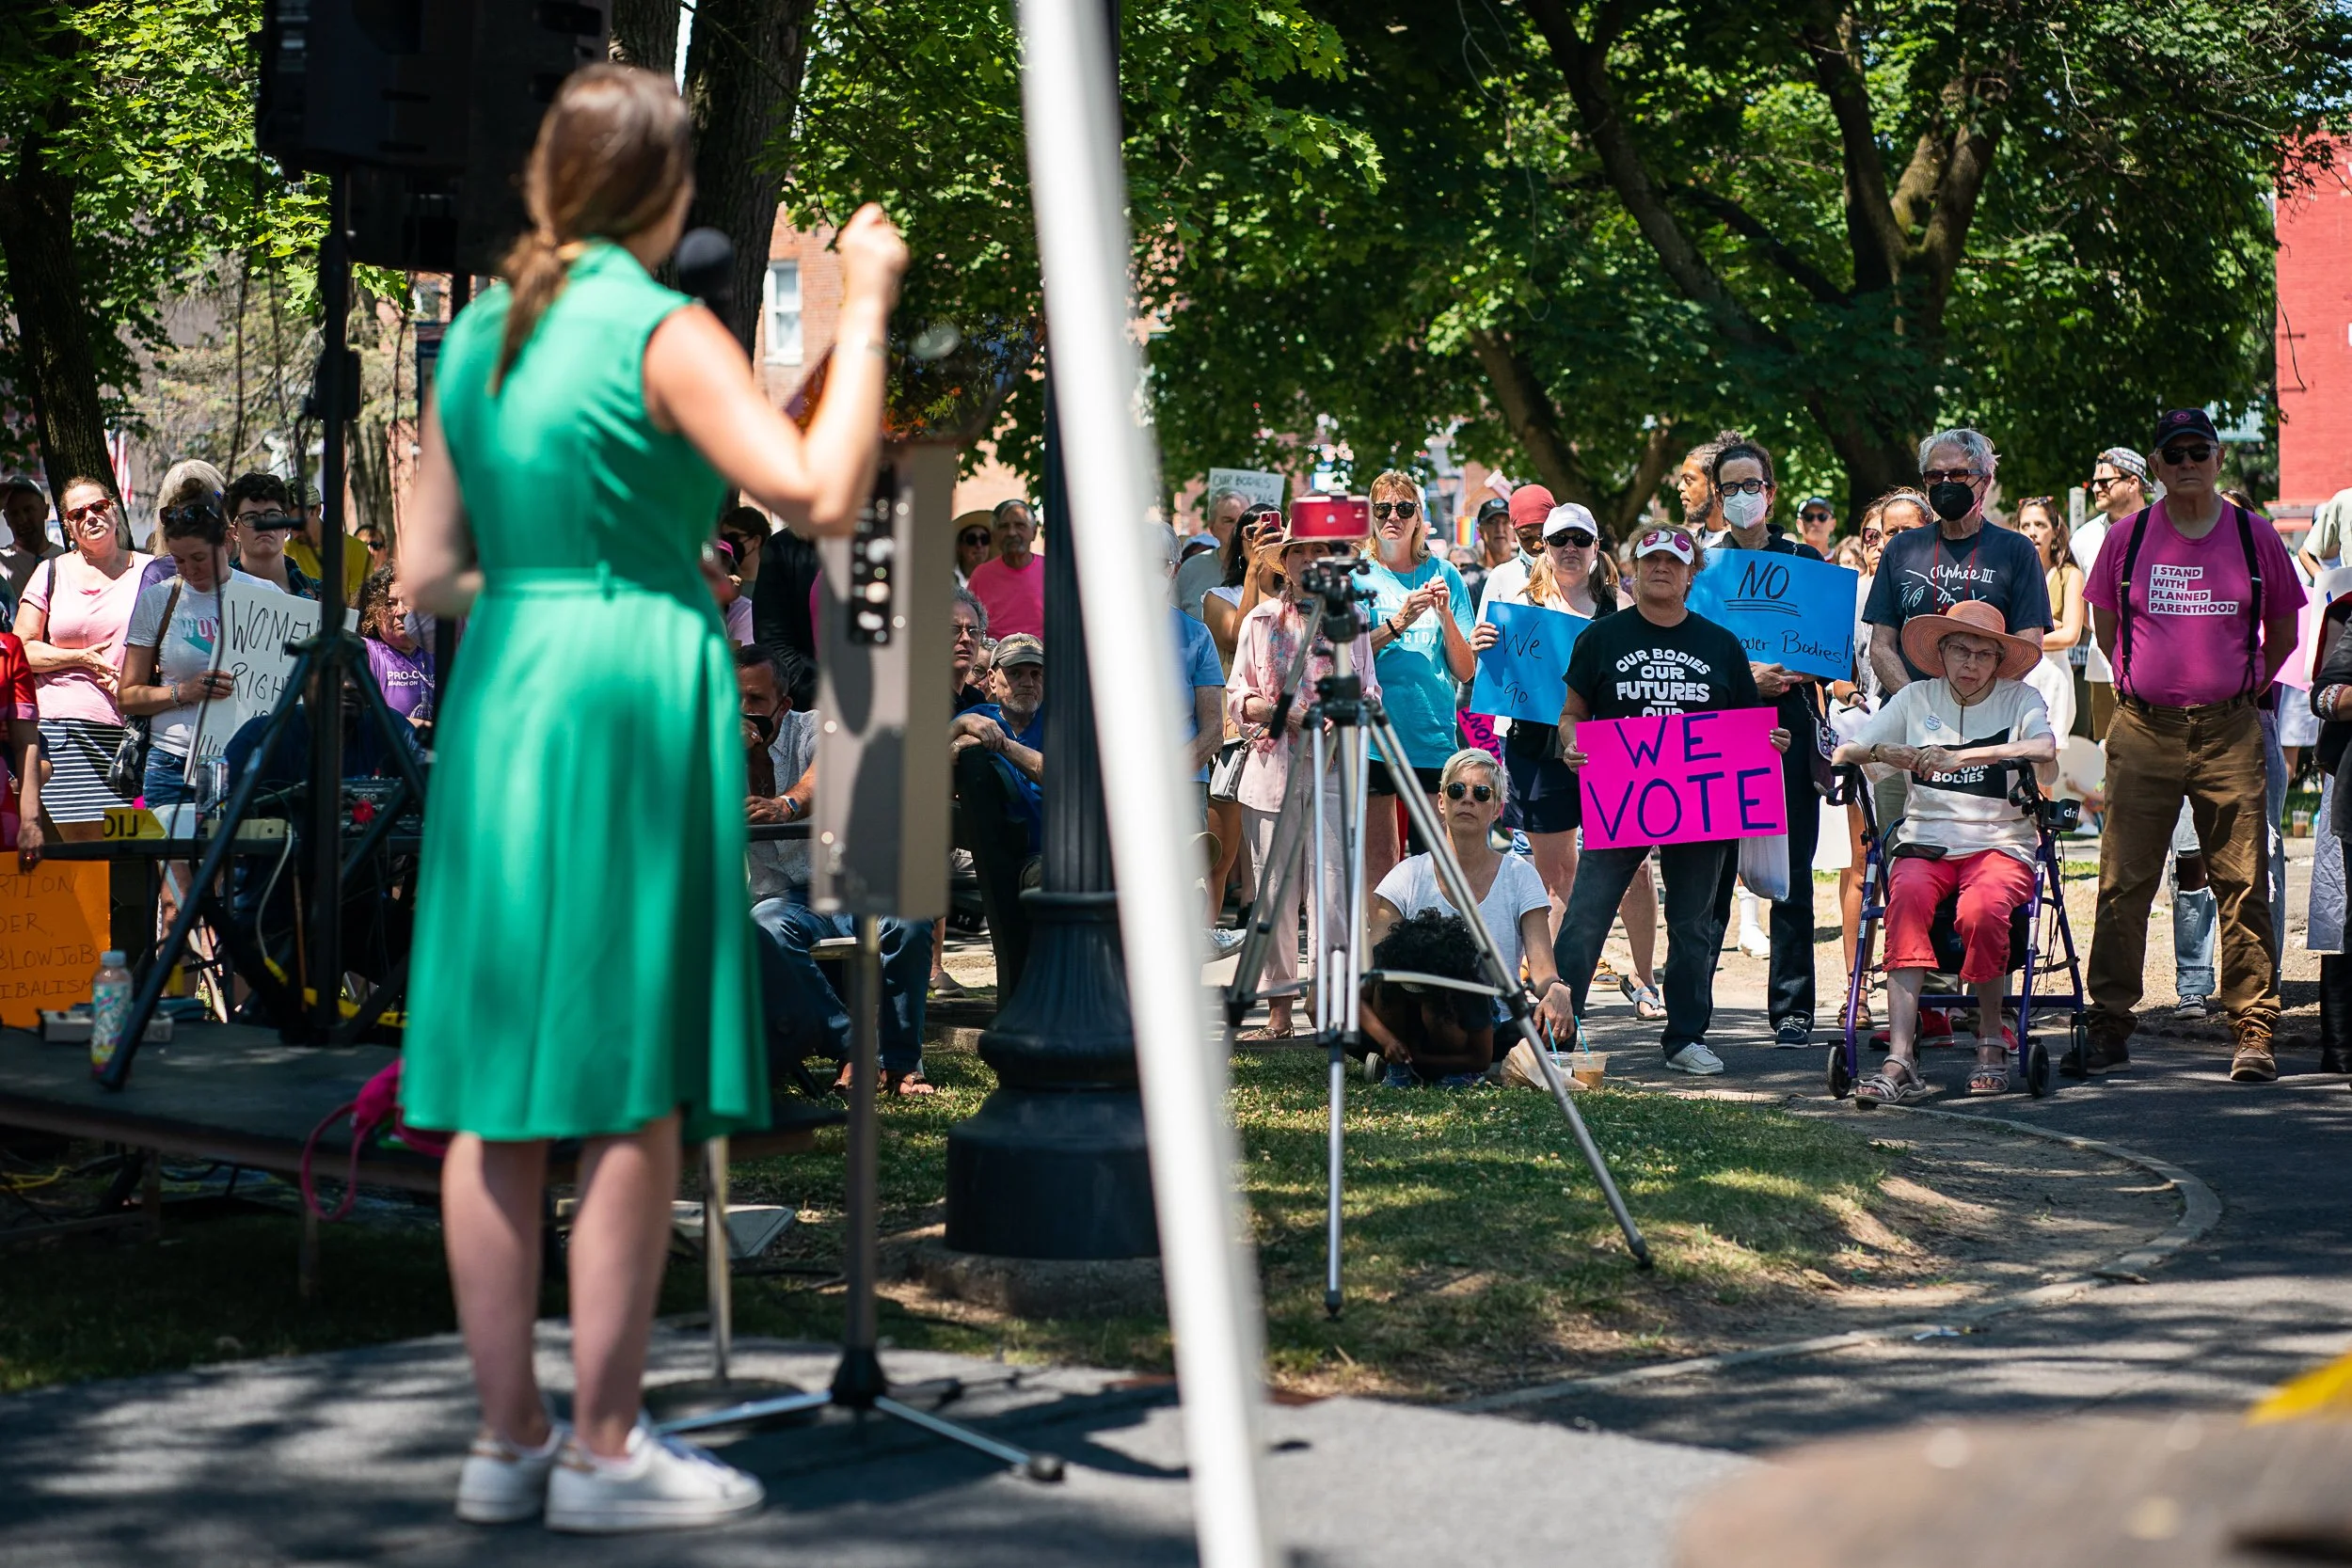
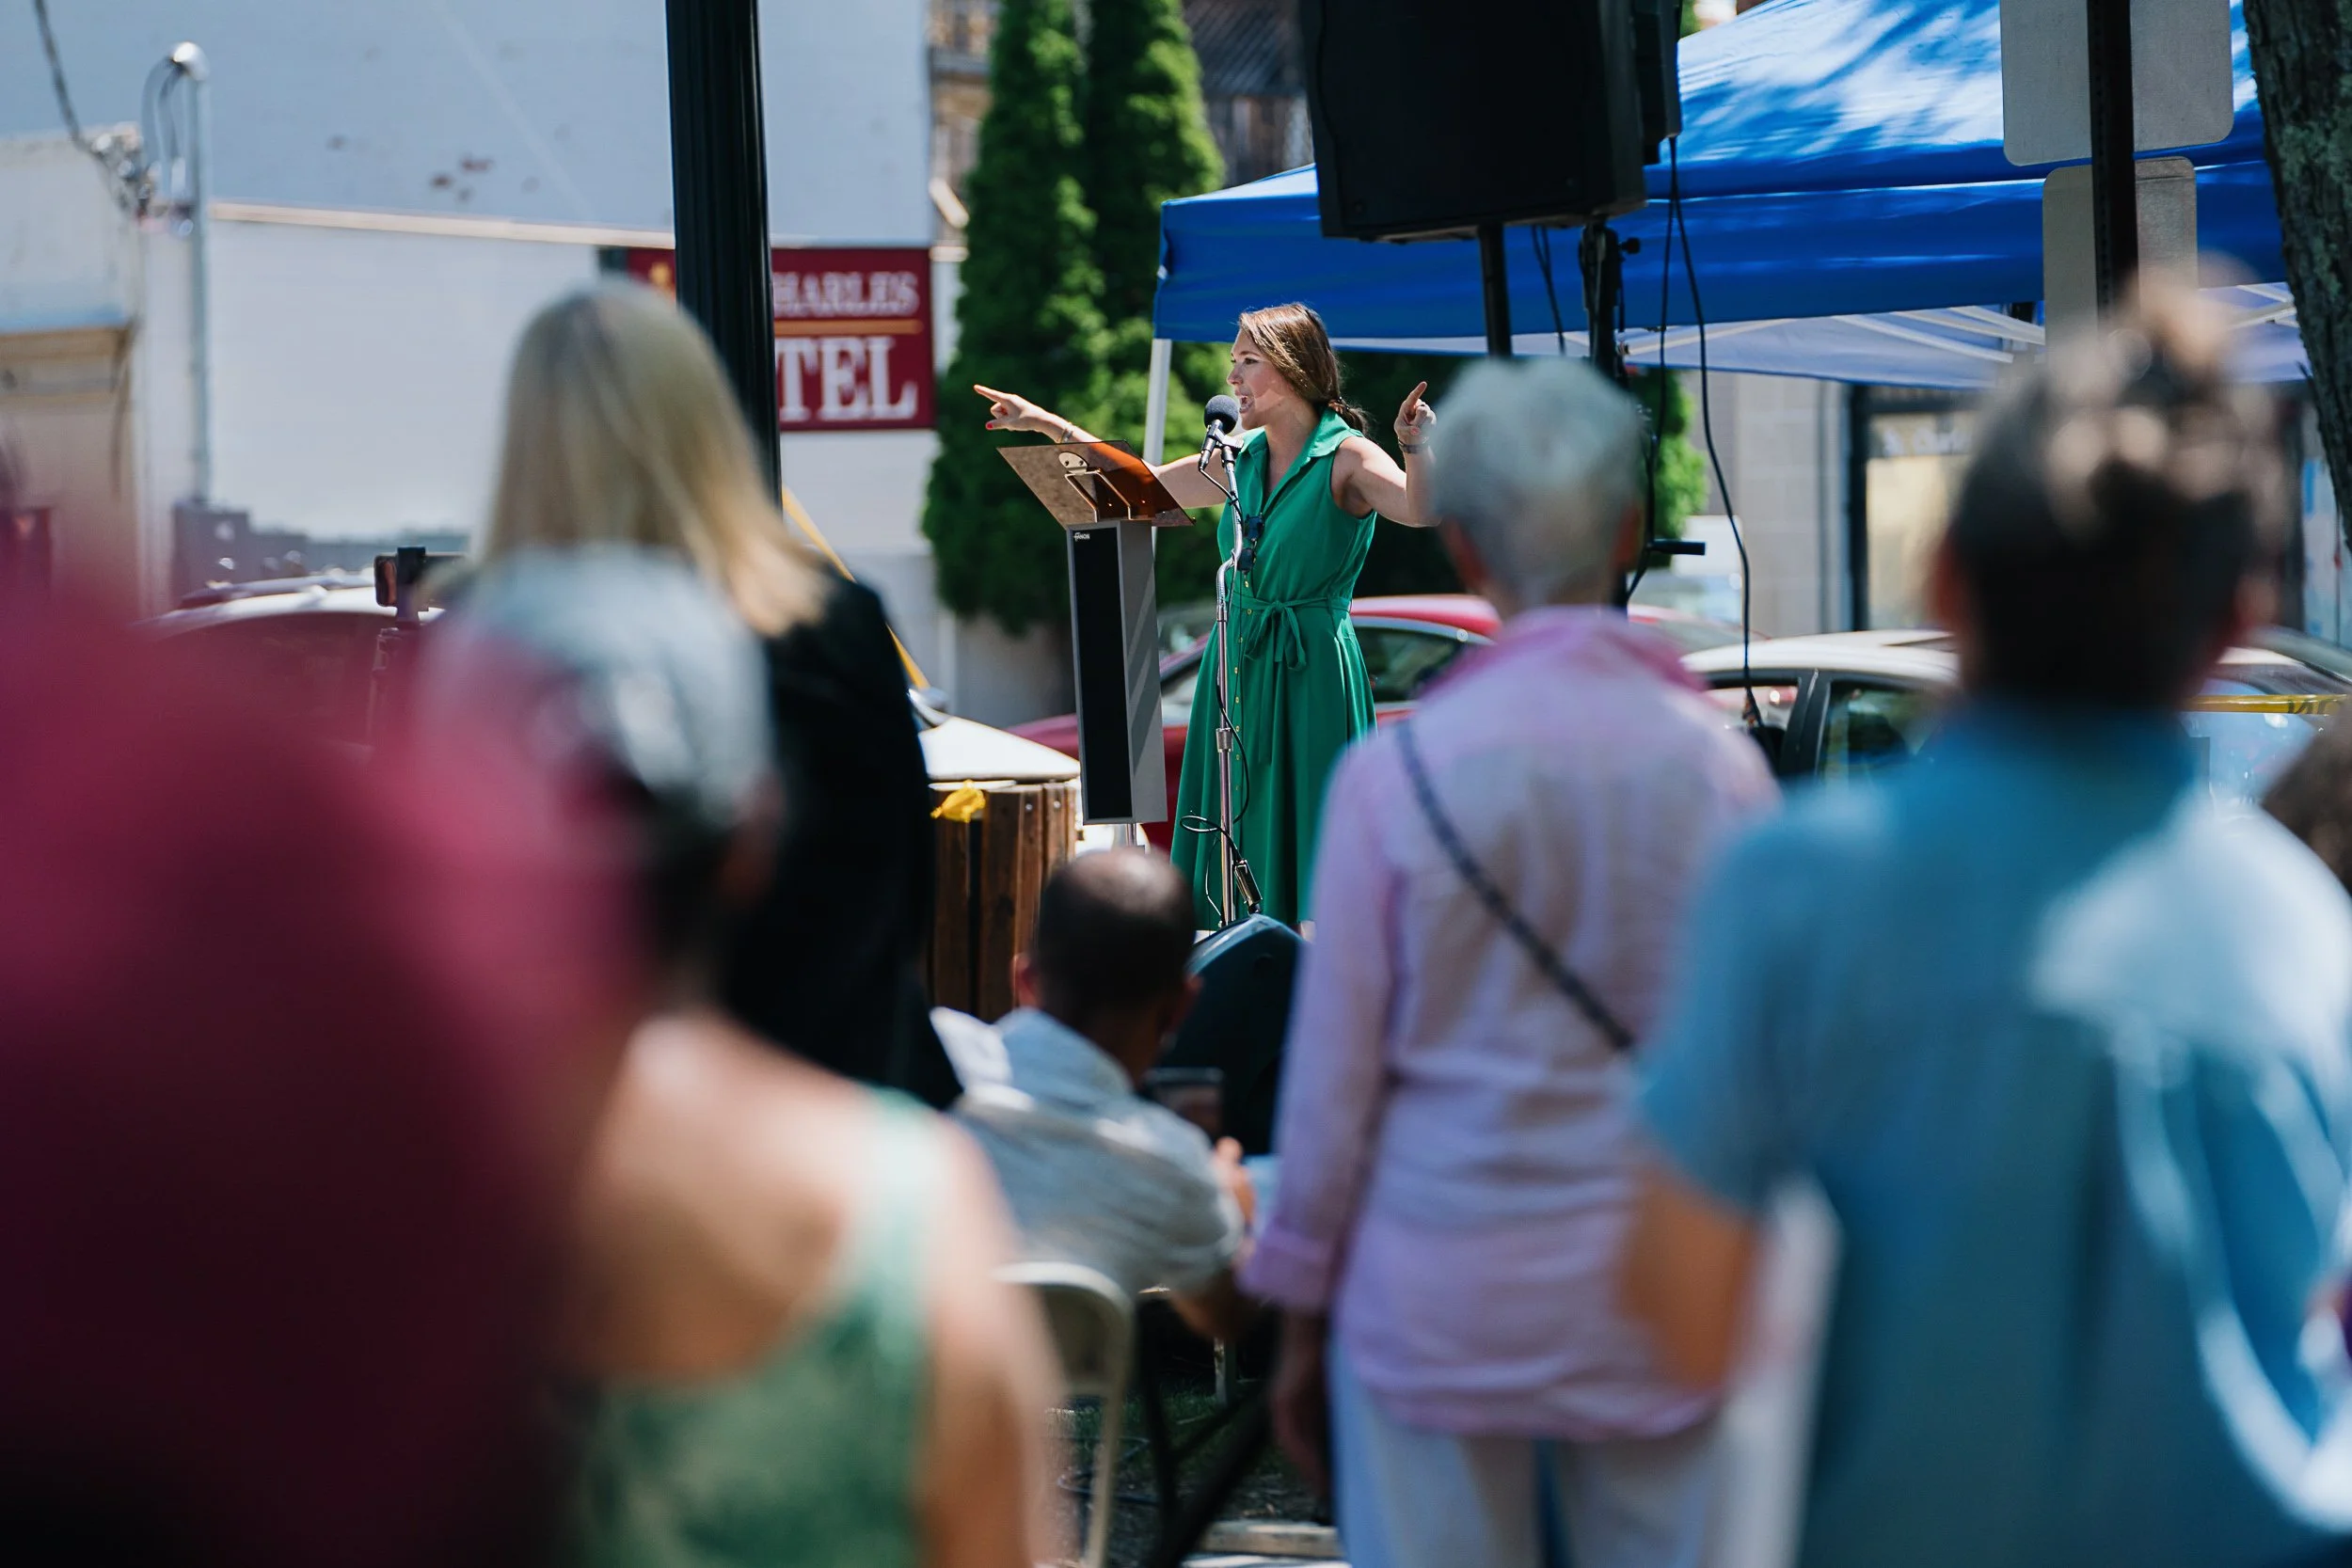
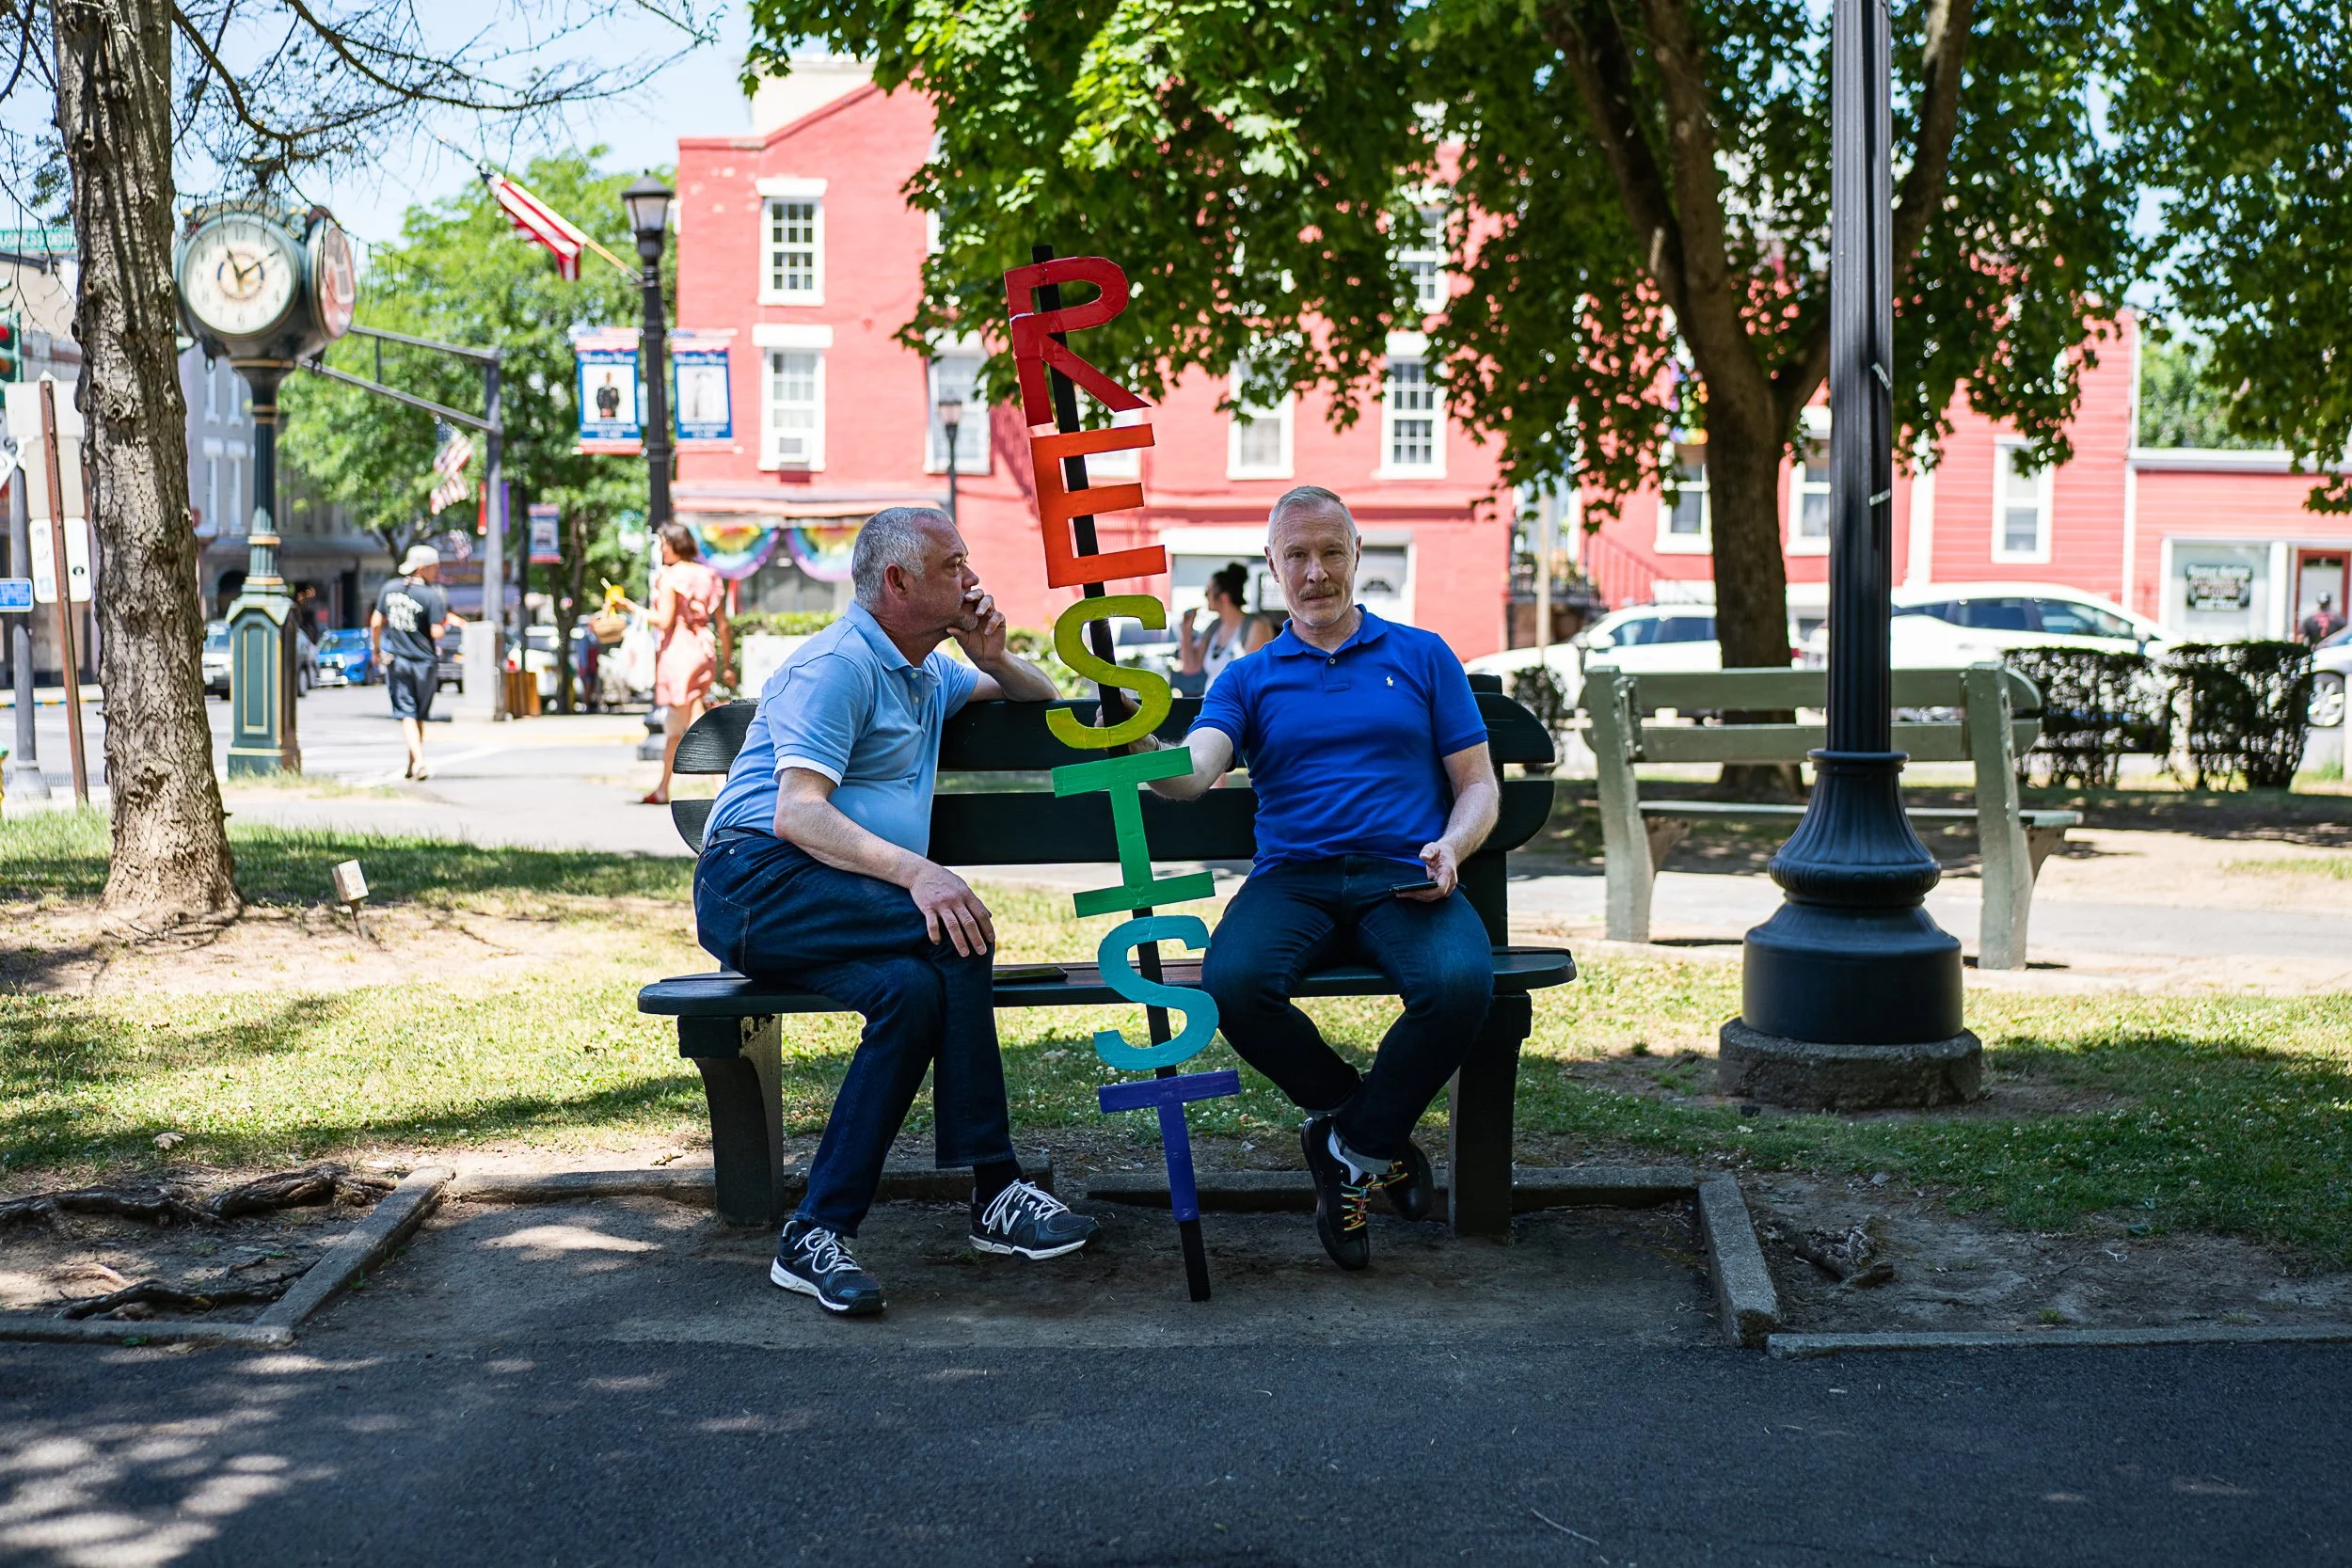
On June 24th, the Dobbs decision arrived. It was as bad as the leaked draft, and Thomas’ concurrent opinion was worse. These are from rallies in Rhinebeck on the 24th, and Hudson on the 25th.
In a crowd of yelling voices, signs are the only way to make your voice heard.
Instax Rolleiflex
Sometimes you need medium format a little faster
I’m convinced everyone that shoots medium format film has wondered how to shoot instant film with their camera. With peel apart film largely discontinued and becoming prohibitively expensive, the options for instant film have largely been reduced to Polaroid’s 600/iType and Fujifilm’s Instax. When I got my Rolleiflex I went down the rabbit hole of possibilities, and ended up landing on a relatively easy and inexpensive option of using Rollei’s sheet film backs to shoot Instax Mini. It requires a bit of set up and vintage hardware, but creates an image that almost covers the Instax Mini’s entire 67mm by 46mm emulsion, and is a fun way to experiment with instant photography or proof a shot before committing roll film and development.
The steps aren’t complicated, but it did take a little trial and error to determine the best way to load the backs to maximize the image that develops. It also requires loading the film in either a darkroom or using a dark bag. The best way I’ve found to shoot Instax Mini will only leave you with about 8 millimeters of unexposed emulsion, which means you’ll have a black bar at the bottom of your image. Since the film gate in the Rolleiflex is for a 6x6 exposure there isn’t a way around this without moving the film back from the intended film focal plane, which would require compensating for the change in focus and exposure. It’s doable, but having a think black bar at the bottom of the exposure isn’t too big of a negative, and if you can get a little creative with your composition you may be able to make the bottom of your frame dark so that it blends in a bit better.
The most important and potentially difficult part of shooting Instax Mini in a Rolleiflex will be getting the sheet film backs. Each back will only hold one Instax shot, but you’ll be able to reload it as much as you want. I found a couple sets of Rollei Sheet Film Adapters for around $50 on ebay, and other than having to replace a couple light seals they’ve worked great. They’re built very solid, and even with a couple dents they’ve still done their job admirably. Once you have your sheet film backs you’ll want to make sure the red velvet light seals are intact, otherwise you’ll have light leeks along the bottom of the frame like in the shot above. Once you have a back in good shape, you will want cut a piece of paper into a strip about 2 inches long and half an inch wide. You can slide that paper under the top edge; this will keep the thicker developer pack side of the film in place and prevent it from getting in front of the darkslide when you’re finished shooting. Finally, you’ll want to make sure you have a camera or printer to develop your images. I use an Instax Mini Link printer but any Instax Mini Camera that can eject film should work. With your camera and film backs prepared, you’re ready to open up a film pack and start loading!
Everything that happens after opening the film pack has to happen in a dark environment, so be sure you have access to a darkroom or some other pitch black space like a dark bag. Personally, I use a Darkroom Bag so that I can load my film at my desk, but if you have a darkroom or pitch black bathroom that’ll work as well. When you’re ready, you’ll want to put your film backs, camera/printer, and film cassette in your dark environment. From there, it’s a pretty set procedure:
With everything in your dark environment, open up your film backs and get ready to load your film.
You need to use the pads of your fingers to slide the film out of the cassette. It shouldn’t take too much force and should pretty easily slide out. If it is a new cassette, you’ll also need to take out the plastic dark slide first. Keep the dark slide for later!
With the film out of the cassette, you’re ready to load up your back. The smooth purple side is the side you want exposed to the light and it’s easy to identify it by feel because it doesn’t have the small ridges that the plastic frame of the wide side has. Gently press the corners of the thin border into the bottom film clip.
Once you have the thin end of the film under the bottom clip make sure that it feels centered in the back, then you can lightly bend the film so that the developer end is under the paper you placed under the top clip.
With the film under both the bottom clip and the top paper you can go ahead and slide the film back’s darkslide into place. Once you’ve finished loading all of the film you need, slide the Instax darkslide into the film cassette and load it into your camera/printer. It will automatically eject the darkslide, and your cassette will be sealed inside.
Once you have the film backs and the cassette light sealed, you’re good to go shoot! To use Rollei’s sheet film backs, you need to slide them into a sheet film adapter. When you’re ready to expose an image, you need to take out the dark slide, then twist the key on the back and let the spring push the film to the correct focal plane. Once you’ve exposed the image, pull the key back and twist it again so that the film is back in the original position then put the dark slide back into place. To develop your images, you just follow the procedure above but go in reverse.
With everything back in your dark environment, either take the Instax cassette out of your camera/printer or grab another cassette.
Remove the exposed and undeveloped Instax film from the film back, and gently slide it back into the Instax cassette. I find it easiest to push a corner of the thin side into the gap of the cassette, so that it will make it past the thin light baffle on the end of the cassette. Make sure you are reloading the film with the thicker developer pack going into the cassette last, and with the sheet you want to develop on the bottom!
With the sheet of film inserted into the cassette, load it into your camera/printer and it will automatically eject the bottom piece of film. When it ejects, it is pushing it through two rollers that are breaking over the developer pack and squeezing it across the film inside of the sheet. This is why it is so important to load the film in the correct orientation!
It’s a very simple process, and once you’ve done it 5 or 10 times it will just become second nature. If you’re struggling to feel your way through the dark space, a tip I got in the lab was to work through it with your eyes closed! With out any visual stimulation, it can be a little easier to feel the small details you’ll need to cue you as you work, and it might help you visualize the film, cassette, and backs. The sheets of film are delicate, but they’re more resilient than you’d expect. The plastic sheeting on both sides of the sheet are fairly easy to clean any smudges from your fingers off after the fact. The developer packs are fairly robust, but you should absolutely be careful not to bend them or puncture them as they are full of chemistry that you don’t want to break open and spill on your hands or gear.
Experimenting with Instax in the Rollei eventually led to spending the money for a Polaroid back for my RB67, but I still love shooting instant film with the Rollei. It may not be “instant” but it’s a lot faster than developing a roll of film!
Arboreal Portraiture
No better combo than golden hour trees in black and white.
I’ve been thinking about shooting more than I’ve been shooting lately, and that’s a lot less interesting to write about, so I took a bit of a break from posting. I realized I needed to get out of head today though so I fell back on the old reliable; black and whites of golden hour trees.


At this point, I could probably put together a portfolio entirely of black and white trees. I think growing up in the Great Plains then moving out east to the Land of the Pines instilled a bit of an obsession with old growth trees. In Oklahoma the oldest trees were most frequently the solitary oaks in the middle of a pasture, so moving to North Carolina where you’re surrounded by 3 or 4 story pines and cedars was a complete change. The most surprising part was the “tree protection areas” around new construction to keep the old growth instead of clear cutting then tossing in a couple tiny monoculture trees. Davidson was especially great about keeping old trees standing in town, so much so that I was worried I’d be spoiled by it when we moved up north.
Luckily Vassar is filled with century-old trees across campus, and it’s a bit of a panacea when I’m feeling a little blocked photographically. Arboreal portraiture may not be the most original thing, but it’s one more creative restriction that forces me to stop overthinking things. Setting out for a walk in monochrome and focused on light on trees normally gets me to stop overthinking every frame, which inevitably gets me just shooting more in general.
If you’re looking for something else to read, I wrote up a 5 Frames post over at Emulsive that went up this weekend. It’s 5 Frames from the first roll through the Mamiya from around Thanksgiving last year, and it made me remember why I love Portra 400 as much as I do.


